Showing posts with label Quilts. Show all posts
Friday, April 13, 2012
Accuquilt Barn Quilt Design Contest
Tuesday, January 31, 2012
Quilt Binding Tool
So I stumbled upon this handy little tool while aimlessly searching the net. There is a video on YouTube at http://www.youtube.com/watch?v=ex2PajesRvU
that shows how to use it. I always have a heck of a time getting this part of my binding right, I measure, pin, remeasure, pin again and finally I get it done, but it is such a pain. I love the idea of this tool. Anyway, I couldn't wait to buy it online and wait for it to arrive so I made my own, I also saved about $10.00 by making it myself. It isn't as pretty as the original, but it works exactly the same. I ran up to Lowe's and bought an 8" X 10" piece of acrylic for $1.98 and a little $3.00 cutting tool and whipped it out! I figured out the measurements by watching the video on YouTube, at one point they laid the tool down on a cutting mat that has 1" markings on it, so I paused the video at that point, it was pretting easy to figure out. It is 8 3/4" long and 2 1/2" wide, from the end to the marking is 6 1/4" then you just cut a 45 degree angle and cut off the 1/4" tip and there you have it. I used a sharpie to mark it, I wrote backwards on the underside, that is why my writing looks funny, I got my "U" backwards, lol. I did a test with it, and it comes out perfect. I can't wait to try it on my next quilt.
Here is the original.that shows how to use it. I always have a heck of a time getting this part of my binding right, I measure, pin, remeasure, pin again and finally I get it done, but it is such a pain. I love the idea of this tool. Anyway, I couldn't wait to buy it online and wait for it to arrive so I made my own, I also saved about $10.00 by making it myself. It isn't as pretty as the original, but it works exactly the same. I ran up to Lowe's and bought an 8" X 10" piece of acrylic for $1.98 and a little $3.00 cutting tool and whipped it out! I figured out the measurements by watching the video on YouTube, at one point they laid the tool down on a cutting mat that has 1" markings on it, so I paused the video at that point, it was pretting easy to figure out. It is 8 3/4" long and 2 1/2" wide, from the end to the marking is 6 1/4" then you just cut a 45 degree angle and cut off the 1/4" tip and there you have it. I used a sharpie to mark it, I wrote backwards on the underside, that is why my writing looks funny, I got my "U" backwards, lol. I did a test with it, and it comes out perfect. I can't wait to try it on my next quilt.
Saturday, January 7, 2012
Craftsy BOM 2012
Here are my first two blocks in the Craftsy 2012 Block of the Month. They will have two blocks every month for 10 months and the last two months will be lessons on putting them together. I love BOM's, these are "Slash Blocks" and I have to say in all the years of my quilting I have never made these kind of blocks, they are super fast and easy. This should be quite the eclectic quilt, I am just grabbing fabric from my stash, so I should end up with some interesting color combinations.
Sunday, May 1, 2011
Accuquilt GO BOM Quilt top finished
Saturday, April 30, 2011
12th Accuquilt BOM finished!
As far as I know they haven't released the pattern yet, but I saw it in one of their photo's of the finished quilt, it wasn't hard to figure out.
Here they are all ready to get sewn together and quilted. Hopefully I will get motivated enough to do it this weekend.Tuesday, April 26, 2011
11 of my 12 Accuquilt Go BOM's
| Double Cross Block |
| Hourglass Block |
| Louisiana Block |
| Magic Pinwheel |
| Magic Triangles |
| Pinwheel |
| Dutchman Block |
| Spinner |
| Starboard |
| Triangles&Squares |
| Windmill Block |
Thursday, April 14, 2011
Block Exchange
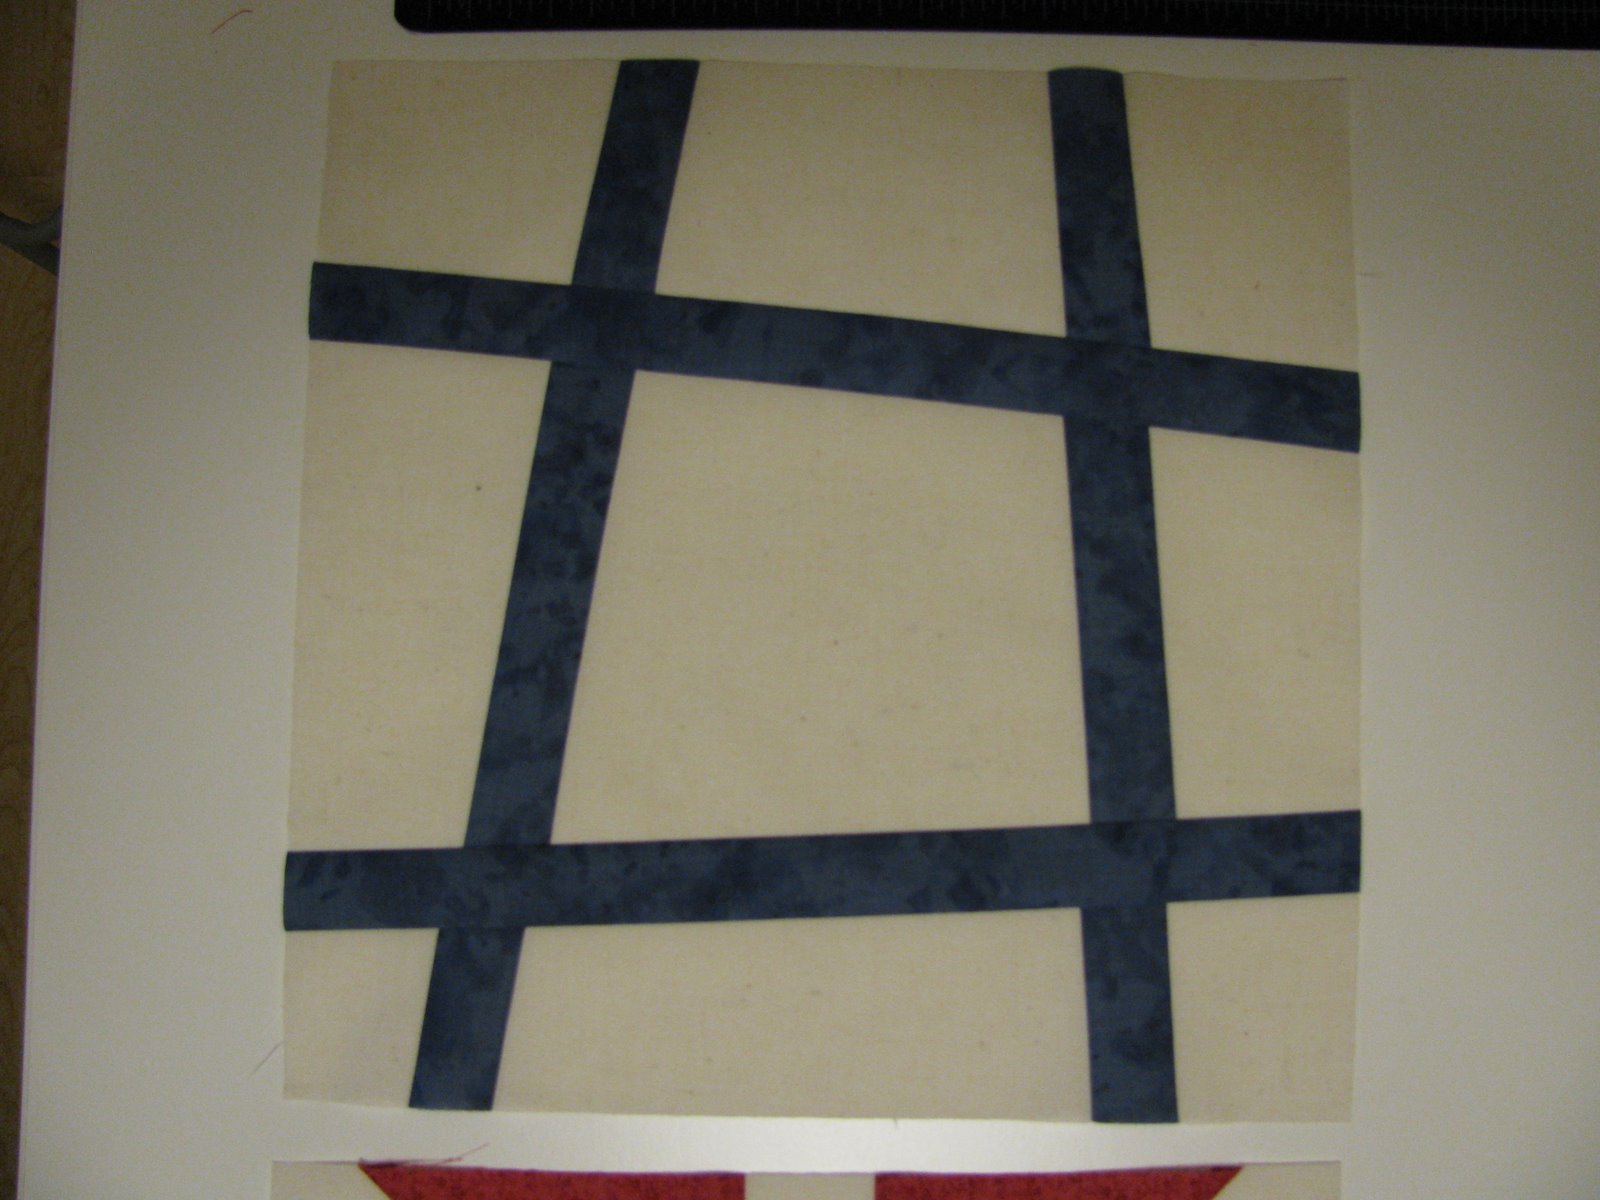
I got my blocks sewn up for my block exchange. I honestly can't remember where or when I signed up for this, but apparently I did. I love doing exchanges because it inspires me to get moving and do something. We could choose any block we wanted, this is called "Spinner", it had to be mainly navy blue and white and if you had more than two colors then red would be next and then gold, I obviously just have 3 colors, it also has to be 12 1/2" unfinished. I laid them out to see what they would look like as a quilt, I like it, I may have to make an entire quilt with these. We were to make 13, 12 for the exchange and 1 for someone that wasn't able to participate, basically we are donating our 13th block to this person so they can make a quilt too. I will get back 12 different blocks when all said and done. Should be interesting.
I used my Accuquilt GO to make my block, the block is from their BOM patterns. Look how perfect my points are, the GO makes it so much easier, I love my GO. I also got my latest block done for Ebony's GO Quilt-Along today. Here is a link to pictures of the blocks I have done so far: http://www.flickr.com/photos/59766037@N08/with/5619847251
Saturday, June 19, 2010
Baby Ben's Quilt
I finished my quilt for my nephew-to-be, Ben, earlier this week. He is due in August, his shower was today so I can now post the quilt. This first pic is of the quilt on the frame.
Here it is finished and ready to go! I saw this quilt somewhere on the internet, I think it is called "Strip Twist", but I added my own twist by adding sashing between the blocks. I used my Accuquilt Go cutter to cut the 2 1/2" strips.I did a meandering star pattern for the quilting.
I gave it a washing to shrink it up and soften it, I use a ton of starch when I quilt. I think it turned out really neat.
Sunday, November 22, 2009
Latest quilt
I just finished another quilt. I bought a Accuquilt fabric cutter a few months ago and this is the first quilt I have made using it. I just used some scrap fabrics I had laying around, actually I have tons of scrap fabric so it feels good to use some of it.
I quilted it using a star and loop type of design. I am really pleased with how it turned out.Saturday, June 20, 2009
Another Kaleidoscope quilt
I got the quilting finished today and just need to bind it. I designed the quilting with a new program I got called Pro-Q designer. I was amazed how well the quilting turned out with this program and how easily it all lined up.
Here's a close-up, it is a simple quilt design of hearts and loops.
Saturday, May 23, 2009
Finished Kaleidoscope Quilt
Here is a shot of it from the side, I was hoping the quilting would show up better in the pictures.
It's easier to see the quilting on the backside. I did an all over floral design. I am ready to start another one while I am in the quilting mood. I am making these for baby shower gifts, I have several friends and family having babies soon.
Sunday, May 17, 2009
Kaleidoscope Quilt
Beautiful weather and what do I do, I quilt. I saw a quilt like this on the web somewhere and figured I could recreate it. First you have to find a fabric with a fairly large repeating pattern, generally they are the ugly fabrics, the kind I would never buy. You find the repeat in the fabric and cut it out, you need at least four identical repeats and then you stack them lining the designs up perfectly then you cut out squares, I decided to do 4" squares because I could get the most out of it that way. Then you put your matching blocks together turning each block a quarter turn so they look like a kaleidoscope. It' just a simple four patch block. It's amazing how completely different each block looks although they are all from the same fabric.
This is a swatch of the fabric that I used. I like the colors. Here are a couple of the blocks close up.
It was really fun turning the squares around to see the different designs that it would make, I kept rotating them until I found the one I thought looked the best.
Now it's ready for quilting. I just need to load it onto the frame.
Sunday, October 19, 2008
Breast Cancer Auction Quilt
Here is the quilt I made for the Breast Cancer Auction which was held at my in-law's church yesterday. They raised just under $10,000.00 dollars and their goal was $5000.00. It was so much fun and I was so pleased to be able to contribute a little. My MIL won the quilt and I couldn't be happier!
The pattern is called "Snowball Quilt". It is the first quilt I have made since finishing the craft room. The picture below is a close-up where you can sort of see the quilting. I did a motif design on all of the blocks and a continuous design around the border. Here is the back.
The design around the border is roses. I also used my Martelli zip bind system for the first time on this quilt, I really like it, but will need to practice more to get the mitered corners perfect.
Subscribe to:
Posts (Atom)